-
Shop
- Adidas
- Advanced Technologies
- AI Skills Mastery 2026 Collection
- Astrology & Tarot Products
- Beauty
- Beauty Guides Collection
- Best-Sellers
- Car Accessories
- Confidence
- Dating & Social Skills
- Digital Resources
- AI & Technology
- AI Skills
- Budgeting & Saving
- Car Buying & Ownership
- Cozy Feast Collection
- Electronics & Technology
- Emotional Intelligence
- Entrepreneurship & Business Growth
- Financial Education
- Financial Independence
- Financial Mindset & Psychology
- Goal Setting
- Hobbies
- Home Styling & Organization
- Kitchen & Recipes
- Leadership
- Mindfulness
- Mindset
- Motivation
- Online Business
- Parenting & Child Development
- Pet Lifestyle & Wellness
- Positive Thinking
- Productivity
- Self Confidence
- Sleep Improvement
- Smart Life with AI
- Stress Management & Relaxation
- Travel Planning
- Yoga & Fitness
- Yoga & Mind-Body Practices
- Education & Learning
- Family & Parenting
- Fashion
- Alexander McQueen
- Bags
- Bags & Wallets
- Balenciaga
- Belts
- Blazers
- Bottega Veneta
- Brunello Cucinelli
- Burberry
- Chanel
- Chloé
- Dior
- Dolce & Gabbana
- Dresses
- Etro
- Fendi
- Gucci
- Hats & Hair Accessories
- Hoodies & Sweatshirts
- Jacquemus
- Jil Sander
- Keychains
- Kiton
- Luggage
- Miu Miu
- Off-White
- Outerwear
- Prada
- Rick Owens
- Saint Laurent
- Shoes
- Socks & Tights
- Sweaters & Cardigans
- The Row
- Tom Ford
- Tops & Shirts
- Valentino
- Valentino Garavani
- Versace
- Vivienne Westwood
- Watches
- Fashion Accessories
- Furniture
- Gadgets
- Health & Beauty
- Health & Wellness
- Home & Garden
- Home Supplies
- Jewelry
- Kids & Babies
- Kitchen
- Kitchen Best-Sellers
- Nike
- Patio, Lawn & Garden
- Personal Growth
- Personal Style & Fashion
- Pet Care
- Pet Supplies
- Pets
- Smart Home Living Guides
- Sport & Outdoors
- Stress Relief & Relaxation
- Super Deals
- TikTok Growth & Monetization Mastery
- Travel
- Travel & Adventure
- Wealth
- Wellness
- Popular
- Best deals
Watercolor Butterfly Stickers for a Softer Kitchen Look
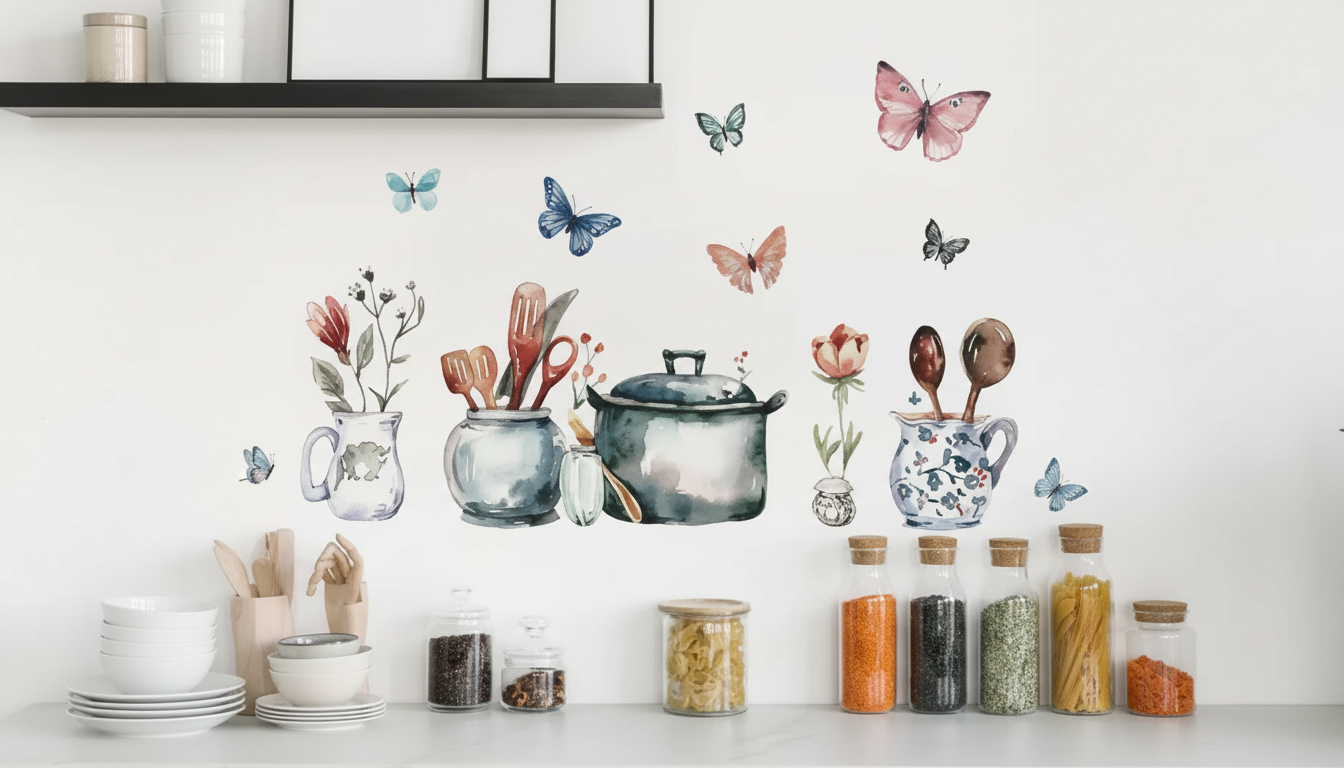
Watercolor Butterfly Kitchen Wall Stickers: an easy way to soften the space
Soft watercolor butterflies can make a kitchen feel lighter and more welcoming without changing cabinets or paint. These self-adhesive wall stickers offer an easy way to add a delicate accent to backsplashes, breakfast nooks, pantry doors, and small blank wall areas—while staying removable for renters and seasonal refreshes.
If you’re looking for a simple update that feels intentional (not overly “decorated”), consider Watercolor Butterfly Kitchen Wall Stickers – Elegant Self-Adhesive Home Décor for a quick, low-commitment change that can be repositioned as your layout evolves.
What makes watercolor butterfly wall stickers feel elegant
Butterflies can read playful or polished depending on color and finish. Watercolor styling leans refined, especially in kitchens that already feature bright surfaces and clean lines.
- Watercolor-style gradients create a hand-painted look that reads as airy rather than loud.
- Butterfly motifs naturally complement common kitchen materials like white tile, light wood, and stainless steel.
- Works well as a subtle focal point in small kitchens where large art can feel heavy.
- Pairs easily with florals, herbs, and botanical prints often used in kitchen décor.
Where to place them in the kitchen for the best effect
Placement is what turns stickers from “cute” into “styled.” Think of them as a visual cue that guides the eye—upward, toward light, or into a cozy corner.
- Breakfast nook wall: cluster butterflies rising diagonally to add movement without crowding the space.
- Cabinet sides or end panels: add interest to often-overlooked vertical surfaces.
- Pantry or utility door: create a gentle statement when the door is closed, with no frame required.
- Above a coffee station: use a small group to define the zone and make it feel intentional.
- Near open shelving: keep butterflies slightly offset from shelves to avoid visual clutter.
Placement ideas and the look they create
| Area | Best layout | Style effect | Tip |
|---|---|---|---|
| Blank wall strip | Diagonal “flight path” | Adds height and motion | Start lower and space upward for a floating feel |
| Backsplash edge (not over heat) | Small scattered set | Light decorative accent | Keep a safe distance from stove and direct flame |
| Pantry door | Centered cluster | Simple focal point | Align to door handle height for balance |
| Breakfast nook | Wide spread | Soft feature wall | Leave some negative space to keep it airy |
| Near window | Corner drift | Bright, garden-like mood | Avoid placing where blinds constantly rub |
Surface compatibility and what to avoid
Kitchens are tough environments for adhesives because of cooking oils, frequent wiping, and temperature swings. A little surface planning helps the design stay crisp.
- Best surfaces: smooth, clean, and dry (painted drywall with a smooth finish, sealed wood, glass, smooth tile).
- Use caution on: matte/flat paint, textured walls, raw wood, brick, heavily grouted tile, or surfaces that shed dust.
- Avoid high-heat and high-steam zones: immediately beside stovetops, above kettles, or where condensation is constant.
- If unsure, test a small piece first and wait several hours to confirm adhesion.
Before applying, clean with a product that cuts kitchen grease without leaving residue. For guidance on choosing safer cleaning options, the EPA Safer Choice program offers practical tips and product-label context.
Simple application steps for a clean, bubble-free finish
A watercolor design looks best when edges sit flush and spacing feels deliberate. Take five extra minutes up front, and the finished look usually reads far more “built-in.”
- Clean the surface with a mild degreaser and let it dry fully; kitchens often have invisible oils that weaken adhesion.
- Plan the layout first: mark light reference points with painter’s tape or a removable pencil mark.
- Peel and place from one edge, smoothing outward to push air away rather than trapping it.
- Use a soft cloth or plastic card to press gently—especially along edges and thin details.
- For clusters, place the largest butterflies first, then fill in with smaller ones for a natural “flight” look.
Removal, repositioning, and caring for the look over time
One of the biggest advantages of wall stickers is flexibility: you can refresh the vibe for spring, move the design after a layout change, or take it down when it’s time to repaint.
- To remove, peel slowly from a corner; warming with a hair dryer on low can help if edges are stubborn.
- Repositioning is easiest shortly after application; pressing firmly after final placement improves staying power.
- For cleaning, wipe nearby surfaces gently; avoid saturating edges with water or strong cleaners.
- If an edge lifts, press it back down after cleaning the spot and drying completely.
For general consumer product guidance and safety updates, you can also reference the CPSC – Product Safety and Recalls site for broader best practices.
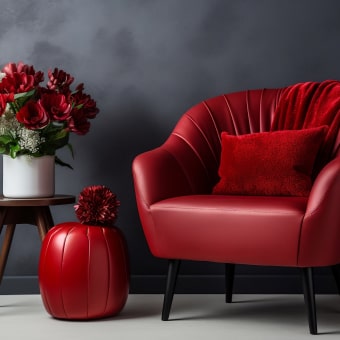
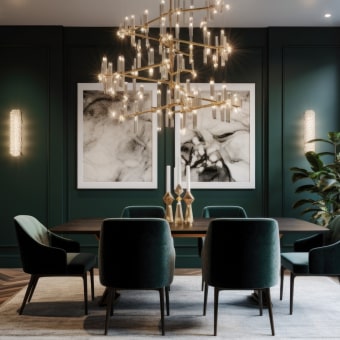
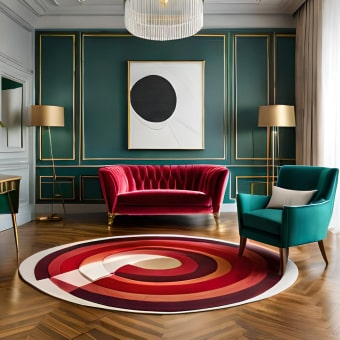
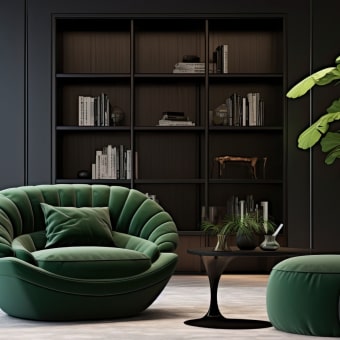
Styling ideas: matching butterflies with kitchen colors and textures
More home upgrades to pair with a fresh kitchen look
- Commercial Snow Flake Ice Make for entertaining, iced coffees, and warm-weather hosting.
- 70″ Suede Leather Sofa with Tufted Design to carry a softer, elevated style from the kitchen into adjacent living spaces.
FAQ
Will these wall stickers damage paint when removed?
Results depend on paint type, how well it cured, and surface prep. For best results, apply to fully cured paint, peel back slowly at a low angle, and use gentle warmth if an edge feels stubborn.
Can self-adhesive wall stickers be used on kitchen tile or glass?
They typically adhere well to smooth, non-porous surfaces like sealed tile and glass. Clean and degrease first, dry completely, and avoid areas that stay hot, wet, or steamy for long periods.
How do you avoid bubbles and crooked placement?
Dry-fit the layout first and use tape guides for straight reference points. Apply from one edge while smoothing outward, and build clusters by placing the larger butterflies first, then adding smaller ones to balance spacing.









Leave a comment