-
Shop
- Adidas
- Advanced Technologies
- AI Skills Mastery 2026 Collection
- Astrology & Tarot Products
- Beauty
- Beauty Guides Collection
- Best-Sellers
- Car Accessories
- Confidence
- Dating & Social Skills
- Digital Resources
- AI & Technology
- AI Skills
- Budgeting & Saving
- Car Buying & Ownership
- Cozy Feast Collection
- Electronics & Technology
- Emotional Intelligence
- Entrepreneurship & Business Growth
- Financial Education
- Financial Independence
- Financial Mindset & Psychology
- Goal Setting
- Hobbies
- Home Styling & Organization
- Kitchen & Recipes
- Leadership
- Mindfulness
- Mindset
- Motivation
- Online Business
- Parenting & Child Development
- Pet Lifestyle & Wellness
- Positive Thinking
- Productivity
- Self Confidence
- Sleep Improvement
- Smart Life with AI
- Stress Management & Relaxation
- Travel Planning
- Yoga & Fitness
- Yoga & Mind-Body Practices
- Education & Learning
- Family & Parenting
- Fashion
- Alexander McQueen
- Bags
- Bags & Wallets
- Balenciaga
- Belts
- Blazers
- Bottega Veneta
- Brunello Cucinelli
- Burberry
- Chanel
- Chloé
- Dior
- Dolce & Gabbana
- Dresses
- Etro
- Fendi
- Gucci
- Hats & Hair Accessories
- Hoodies & Sweatshirts
- Jacquemus
- Jil Sander
- Keychains
- Kiton
- Luggage
- Miu Miu
- Off-White
- Outerwear
- Prada
- Rick Owens
- Saint Laurent
- Shoes
- Socks & Tights
- Sweaters & Cardigans
- The Row
- Tom Ford
- Tops & Shirts
- Valentino
- Valentino Garavani
- Versace
- Vivienne Westwood
- Watches
- Fashion Accessories
- Furniture
- Gadgets
- Health & Beauty
- Health & Wellness
- Home & Garden
- Home Supplies
- Jewelry
- Kids & Babies
- Kitchen
- Kitchen Best-Sellers
- Nike
- Patio, Lawn & Garden
- Personal Growth
- Personal Style & Fashion
- Pet Care
- Pet Supplies
- Pets
- Smart Home Living Guides
- Sport & Outdoors
- Stress Relief & Relaxation
- Super Deals
- TikTok Growth & Monetization Mastery
- Travel
- Travel & Adventure
- Wealth
- Wellness
- Popular
- Best deals
Product Image Checklist for Higher Ecommerce Conversions
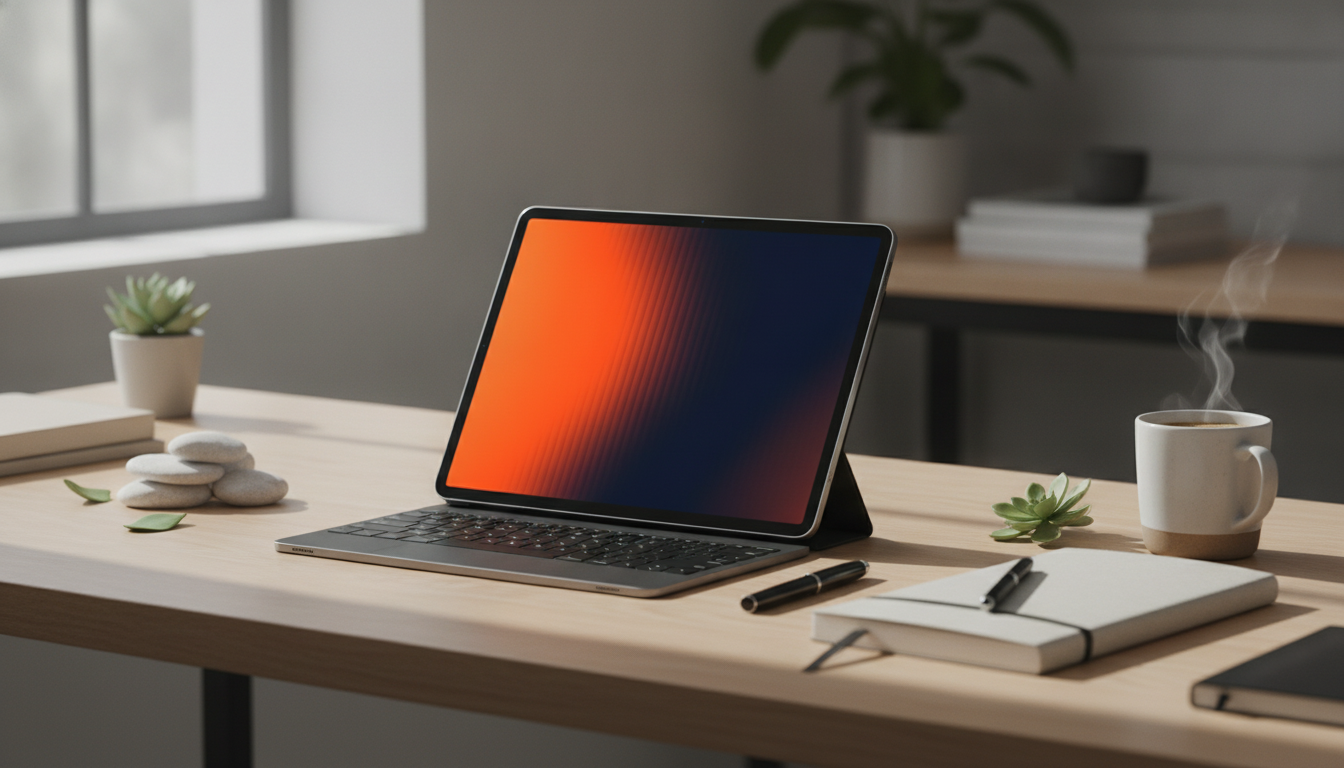
Picture-Perfect Product Images That Drive Confident Buying
High-performing product images do more than look nice—they reduce uncertainty. When shoppers can quickly understand size, materials, features, and what’s included, listings feel credible and decisions feel easy. The most effective catalogs are built on a simple system: plan a consistent image set, generate or capture visuals in repeatable batches, and polish them lightly so every SKU looks like it belongs in the same brand family. For more guidance, see 50 AI Image Prompts for Stunning Visuals (2026) – Seedance 2.0.
What Makes Product Images Convert
Conversion-friendly images answer silent questions before a shopper has to ask them. They replace hesitation with clarity—especially on mobile, where buyers scan quickly and decide fast. For further reading, see Free GPT Image 2 AI Prompt Guide.
- Clarity first: accurate color, true-to-life scale, and sharp detail where it matters most (materials, texture, features, controls).
- Consistency across the catalog: matching angles, crops, lighting mood, and background treatment increases perceived quality and reduces “is this the same product?” doubt.
- Decision-support visuals: show size, fit, use cases, and what’s included so expectations align with reality.
- Low-friction scanning: clean composition, minimal distractions, and labels only when truly necessary.
A Repeatable Workflow for Stunning, On-Brand Visuals
The fastest way to improve product visuals is to stop reinventing the wheel for every item. A repeatable workflow keeps your catalog cohesive, speeds production, and makes quality control straightforward.
- Define a visual standard: choose background style (white, studio gradient, lifestyle), required angles, and how close detail shots should be.
- Build a shot list before creating anything: hero, back/side, details, scale reference, in-use, and packaging/what’s included.
- Create in batches: capture or generate multiple SKUs with the same framing and lighting so your category pages look intentional.
- Select winners with a simple rule: the best image answers the most buyer questions with the least visual noise.
- Finish with light editing: straighten, crop consistently, match exposure/white balance, and export at platform-friendly dimensions.
Ecommerce image set checklist (minimum to strong)
| Image type | Buyer question it answers | Execution notes |
|---|---|---|
| Hero on clean background | What is it and what does it look like? | Center the product, keep edges clean, avoid heavy shadows. |
| Angle variants (3/4, side, back) | How is it shaped from all sides? | Match camera height and crop ratio across variants. |
| Detail close-ups | What is the material/quality like? | Focus on texture, seams, controls, labels, or craftsmanship. |
| Scale reference | How big is it really? | Use a hand, model, common object, or dimensional overlay. |
| In-use / lifestyle | How does it fit into my life? | Show a realistic context and a single clear use case. |
| What’s included | What comes in the box? | Lay items flat with consistent spacing; label only if needed. |
Writing Strong AI Image Directions Without Guesswork
When visuals are generated or enhanced digitally, specificity is what keeps results usable. Strong directions reduce rework, prevent weird inaccuracies, and make batches feel like one cohesive shoot.
- Start with essentials: product type, material, color, and defining features (for example: “matte black stainless steel bottle with flip-top lid”).
- Control the environment: background (white seamless, soft gradient, real countertop), lighting (softbox vs. window light), and mood (bright, premium, cozy).
- Specify camera choices: perspective (eye level, top-down), focal feel (wide vs. portrait look), and depth of field (everything sharp vs. softly blurred background).
- Add guardrails: what must NOT appear (extra logos, incorrect accessories, misleading finishes, odd hands), plus any brand elements that must stay consistent.
- Request variations systematically: change one variable at a time (angle or background or lighting) so it’s clear what improved results.
Styling, Backgrounds, and Color That Look Premium
Premium-looking images are rarely about expensive props. They’re about disciplined styling choices that highlight the product and keep attention where it belongs.
Compliance, Trust, and Marketplace Readiness
- Represent the actual item: don’t show accessories, finishes, or features that won’t arrive with the purchase.
- Avoid misleading scale: lifestyle images should still reflect realistic proportions and typical usage.
- Export for quality and speed: start with high-resolution originals, then optimize formats to avoid visible compression artifacts.
- Follow marketplace rules: requirements can vary by channel; check official guidance such as Google Merchant Center image requirements.
For additional best practices, see Shopify’s product photography tips and Adobe’s product photography basics.
Quick Wins to Improve Conversion Without a Full Reshoot
A Ready-to-Use Digital Guide for Consistent Results
- Picture-Perfect Products That Sell (digital guide) — A practical digital resource for producing consistent, high-converting product imagery across categories.
Need a few real-world practice targets for tightening your standards? Try building a full image set (hero, angles, details, scale, lifestyle, included items) for products like 70″ Suede Leather Sofa with Tufted Design, Jil Sander Short Sleeve V-Neck Shirt, or Commercial Snow Flake Ice Make—three very different categories that benefit from clear scale, material detail, and honest representation.
FAQ
How many images should a product listing have?
A solid minimum is 4–6 images (hero plus a few supporting angles and details). A stronger set is 6–8 images that also include scale reference, in-use context, and a “what’s included” layout to reduce uncertainty and returns.
What’s the best background for product photos?
Pure white works best for marketplaces and fast comparison shopping, while subtle gradients add depth for a premium look. Lifestyle backgrounds are ideal when context drives the purchase—just keep them consistent and make sure the product stays the clear focal point.
How can AI-generated visuals stay accurate to the real product?
Use precise descriptors (material, finish, color, hardware), strict “must include/must not include” rules, and compare outputs against real references before publishing. Avoid adding accessories or features that aren’t included in the purchase.
Recommended for you



Dolce & Gabbana Fabrics: Cotton, Silk, Wool & More
Jul 27, 2026











Leave a comment