-
Shop
- Adidas
- Advanced Technologies
- AI Skills Mastery 2026 Collection
- Astrology & Tarot Products
- Beauty
- Beauty Guides Collection
- Best-Sellers
- Car Accessories
- Confidence
- Dating & Social Skills
- Digital Resources
- AI & Technology
- AI Skills
- Budgeting & Saving
- Car Buying & Ownership
- Cozy Feast Collection
- Electronics & Technology
- Emotional Intelligence
- Entrepreneurship & Business Growth
- Financial Education
- Financial Independence
- Financial Mindset & Psychology
- Goal Setting
- Hobbies
- Home Styling & Organization
- Kitchen & Recipes
- Leadership
- Mindfulness
- Mindset
- Motivation
- Online Business
- Parenting & Child Development
- Pet Lifestyle & Wellness
- Positive Thinking
- Productivity
- Self Confidence
- Sleep Improvement
- Smart Life with AI
- Stress Management & Relaxation
- Travel Planning
- Yoga & Fitness
- Yoga & Mind-Body Practices
- Education & Learning
- Family & Parenting
- Fashion
- Alexander McQueen
- Bags
- Bags & Wallets
- Balenciaga
- Belts
- Blazers
- Bottega Veneta
- Brunello Cucinelli
- Burberry
- Chanel
- Chloé
- Dior
- Dolce & Gabbana
- Dresses
- Etro
- Fendi
- Gucci
- Hats & Hair Accessories
- Hoodies & Sweatshirts
- Jacquemus
- Jil Sander
- Keychains
- Kiton
- Luggage
- Miu Miu
- Off-White
- Outerwear
- Prada
- Rick Owens
- Saint Laurent
- Shoes
- Socks & Tights
- Sweaters & Cardigans
- The Row
- Tom Ford
- Tops & Shirts
- Valentino
- Valentino Garavani
- Versace
- Vivienne Westwood
- Watches
- Fashion Accessories
- Furniture
- Gadgets
- Health & Beauty
- Health & Wellness
- Home & Garden
- Home Supplies
- Jewelry
- Kids & Babies
- Kitchen
- Kitchen Best-Sellers
- Nike
- Patio, Lawn & Garden
- Personal Growth
- Personal Style & Fashion
- Pet Care
- Pet Supplies
- Pets
- Smart Home Living Guides
- Sport & Outdoors
- Stress Relief & Relaxation
- Super Deals
- TikTok Growth & Monetization Mastery
- Travel
- Travel & Adventure
- Wealth
- Wellness
- Popular
- Best deals
Beginner Travel Vlogging Gear Checklist (Pack Light)
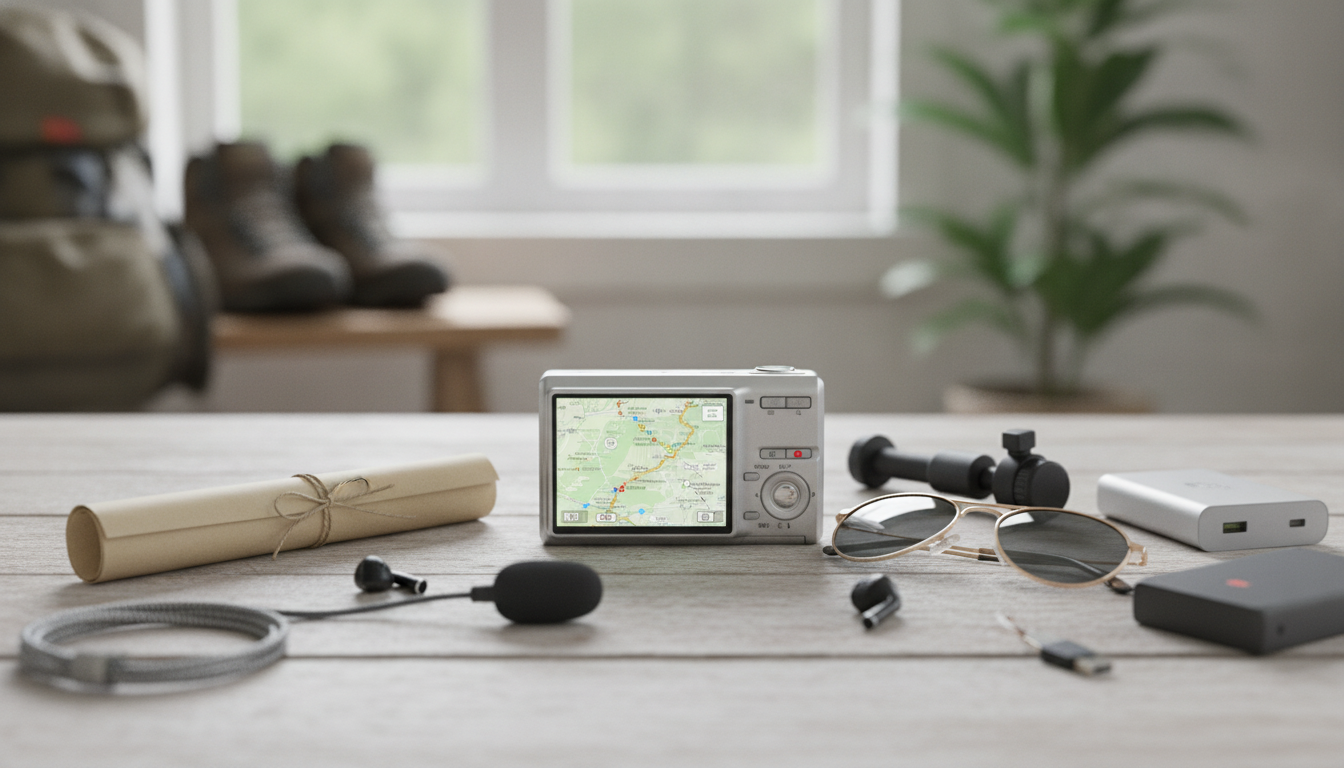
Travel Vlogging Gear Checklist for Beginners (Pack-Light, Film-Ready)
A beginner-friendly travel vlogging setup works best when it stays simple: stable video, clear audio, reliable power, and an easy workflow for backing up, editing, and sharing on the go. This checklist focuses on essentials that fit in a small bag, plus a few smart upgrades that make a noticeable difference without overpacking.
Start With the Vlog Style You’ll Actually Film
Beginner Travel Vlogging Setup by Style
| Vlog style | Top priority | Helpful gear | Avoid overpacking with |
|---|---|---|---|
| Walk-and-talk city tours | Stabilization + wind control | Compact tripod/handgrip, deadcat windscreen | One lens/device, one mic |
| Cinematic b-roll + voiceover | Smooth motion + reliable backup | Mini tripod, ND filter (optional), SSD backup | Skip extra mics if voiceover-only |
| Food and indoor markets | Low-light + clean audio | Small on-camera light, wireless mic | Avoid large tripods |
| Beach/outdoor adventure | Weather protection + power | Dry bag, lens cloth, power bank | Don’t bring multiple chargers |
Core Filming Gear (The Essentials)
- Camera: Smartphones are usually the best value and easiest to use; compact cameras are simple; entry-level mirrorless offers flexibility. Prioritize reliable autofocus and straightforward settings. If you’re using an iPhone, Apple’s guide to video settings can help you dial in resolution, frame rate, and stabilization quickly: Apple Support: Record video with iPhone camera settings.
- Stabilization: A small tripod that doubles as a handgrip covers most needs (talking clips, table shots, quick b-roll). Add a gimbal only if walking footage is your main product and you’re willing to carry and charge it.
- Audio: One external mic is often the best upgrade. Use a windscreen outdoors and record a 5-second test clip before you commit to a long take.
- Lighting: A pocket LED helps in hotel rooms, cafes, and night markets. Keep it soft—aim it slightly off-axis or bounce it when possible to avoid harsh shadows.
- Storage: Don’t start a full day with “nearly full” storage. Bring extra card capacity (or free up phone space) so you’re never deleting clips under pressure.
Power, Charging, and Connectivity (What Keeps the Camera Rolling)
- Power bank: Choose one that matches your devices (USB-C PD is ideal for many modern phones and some cameras) and stays within airline rules. For battery and portable charger guidance, reference: FAA: Pack Safe—Batteries and Portable Chargers.
- Chargers and cables: Bring one primary fast charger plus one compact backup cable. Label cables (or use color bands) so you don’t leave one behind in shared outlets.
- Spare batteries: For dedicated cameras, two batteries is a practical baseline. For phones, prioritize a power bank and a short cable so you can film while topping up.
- Adapters: Pack the right plug adapter for your destination. If you’re charging multiple items, a small multi-port charger reduces outlet hunting.
- Data plan strategy: Decide between local SIM, eSIM, or hotspot. Your upload plan affects how much you can share during the trip and whether you should wait for Wi‑Fi.
Editing and Backup on the Road (Avoid Losing a Trip’s Footage)
- Editing device: Phone/tablet editing is enough for shorts and straightforward vlogs. A laptop helps with longer projects, multicam, and heavy color work.
- Backup routine: Keep at least two copies (device + external drive/SSD or second device). Back up nightly, not “when there’s time.”
- File organization: Use folders by date/location (example: “2026-06-Paris-Day1”) and keep music/graphics in a dedicated folder so edits don’t turn into a scavenger hunt.
- Cloud uploads: Cloud is a helpful third layer, but don’t rely on it as the only backup when Wi‑Fi is inconsistent.
- Uploading workflow: If you’re posting to YouTube, keep their upload requirements handy so you’re not troubleshooting at the last minute: YouTube Help: Upload videos.
Packing, Protection, and Quick Setup Habits
Printable Checklist: What to Pack for a Beginner Travel Vlog Kit
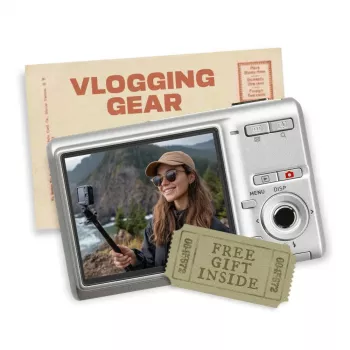
If you want a ready-to-use sheet you can mark up for different trips, use this internal download: Travel Vlogging Gear Checklist for Beginners (Printable Digital Download).
For travelers who also like a tighter wardrobe plan (less packing, fewer outfit decisions on camera), this internal bundle can complement a minimalist travel approach: Budget Style Strategy Bundle for Everyday Looks – 5-in-1 Digital Download.
Beginner Travel Vlogging Gear Checklist (Essentials)
| Category | Essentials to pack | Optional upgrades |
|---|---|---|
| Filming | Phone/camera, tripod/handgrip, cleaning cloth | Gimbal, ND filter, second lens |
| Audio | Lavalier or compact mic, windscreen | Wireless mic kit, on-camera shotgun mic |
| Power | Power bank, fast charger, 1–2 cables | Spare camera batteries, multi-port charger |
| Storage/Backup | Extra card space, card reader (if needed) | Portable SSD, cloud sync plan |
| Editing/Sharing | Editing app/software, captions template | Laptop workflow, external mouse |
| Protection | Small pouch, rain cover/zip bag | Hard case, dry bag |
FAQ
What is the best beginner travel vlogging setup without overpacking?
Use one main camera (often your phone), one small tripod/handgrip, one simple external mic with wind protection, a power bank, and a basic two-copy backup method. Learn that setup well before adding extra lenses, lights, or a gimbal.
Do beginners need a gimbal for travel vlogging?
A gimbal is most useful if you film lots of walking shots and want consistently smooth motion. If your camera/phone stabilization is decent, a tripod/handgrip is often enough—and it’s lighter, faster to set up, and one less device to charge.
How can footage be backed up safely while traveling?
Follow a two-copy routine: keep footage on your device and back it up to an external SSD/drive (or second device) every night. Add cloud uploads as a third layer when Wi‑Fi is stable, and organize files by date/location to prevent confusion.


Leave a comment